Collecting and Sowing Wildflower Seed
One of the easiest methods of supplying new wildflowers for your yard is by growing your own from seed. Collecting seed from your plants is fun, and growing wildflowers from seed is easier than you think.
By using native wildfower seeds that are locally adapted to Florida’s soil and climate, you’ll help ensure your horticultural success. Collect from your own garden year-round and from other properties with owners’ permission. (You’ll need a permit to collect seeds from city , county, state or federal parks.)
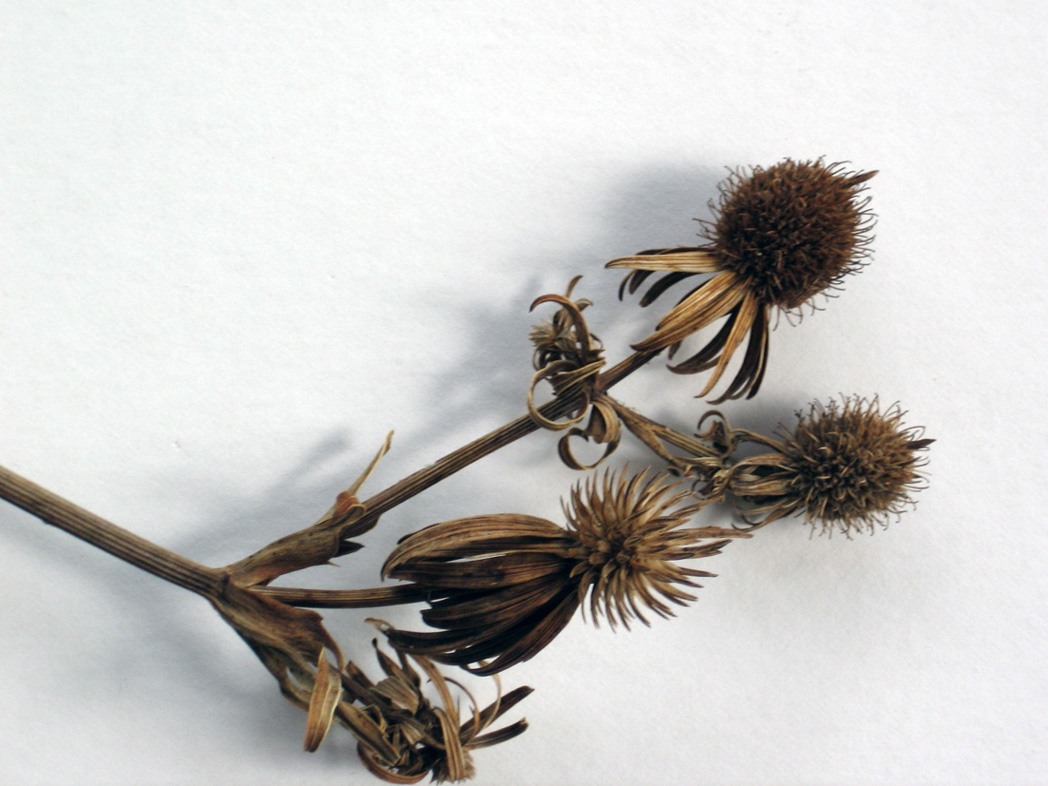
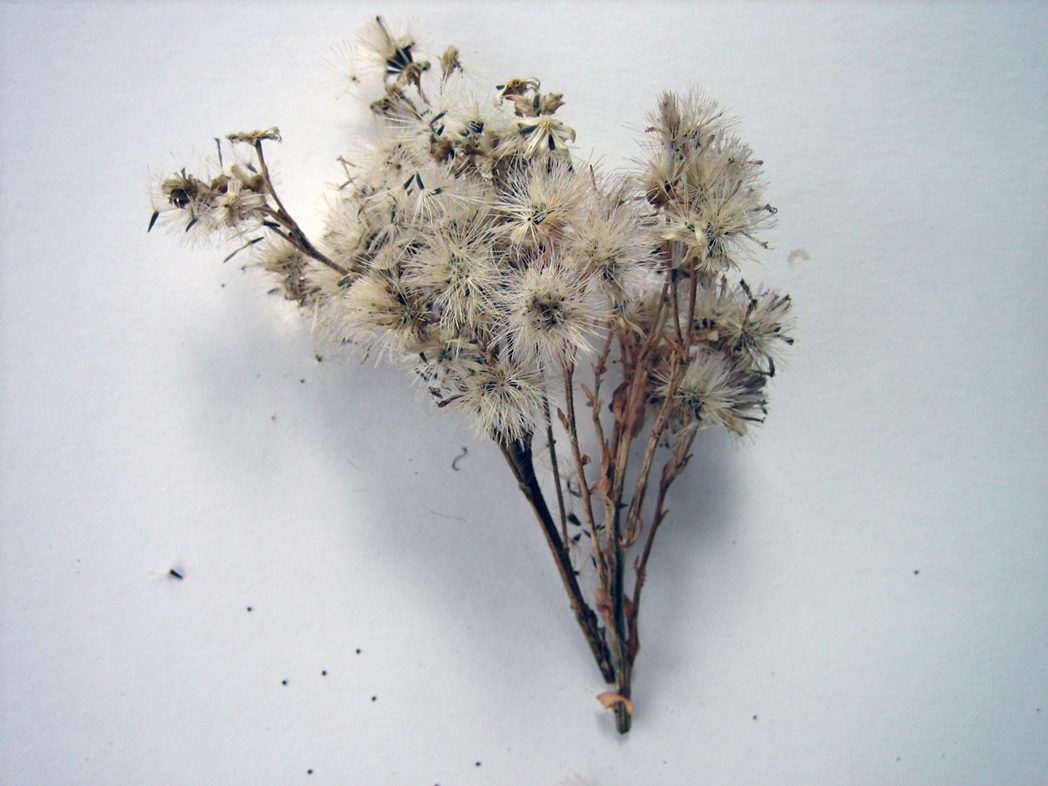
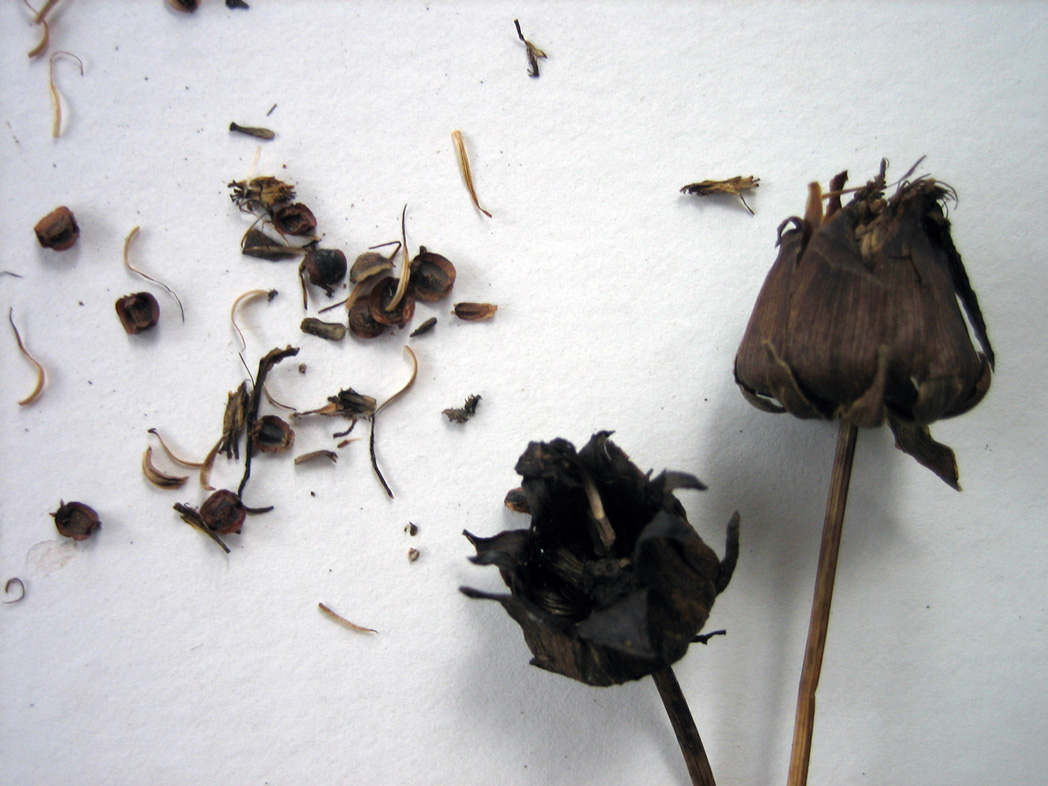
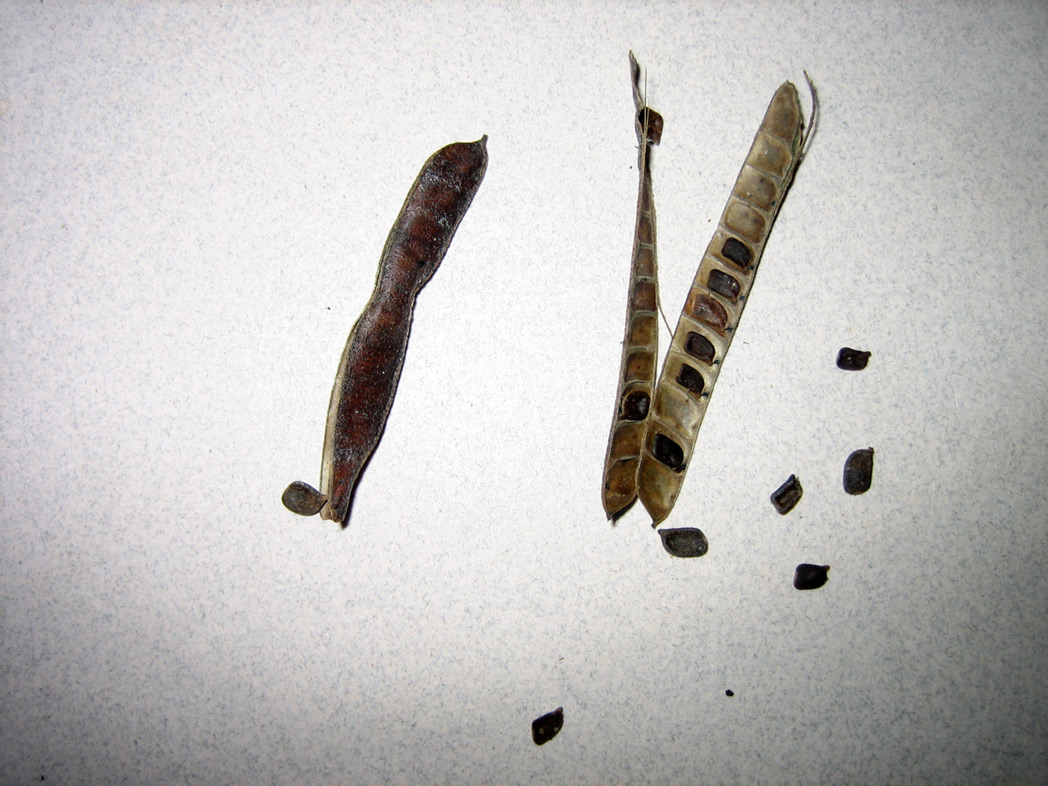
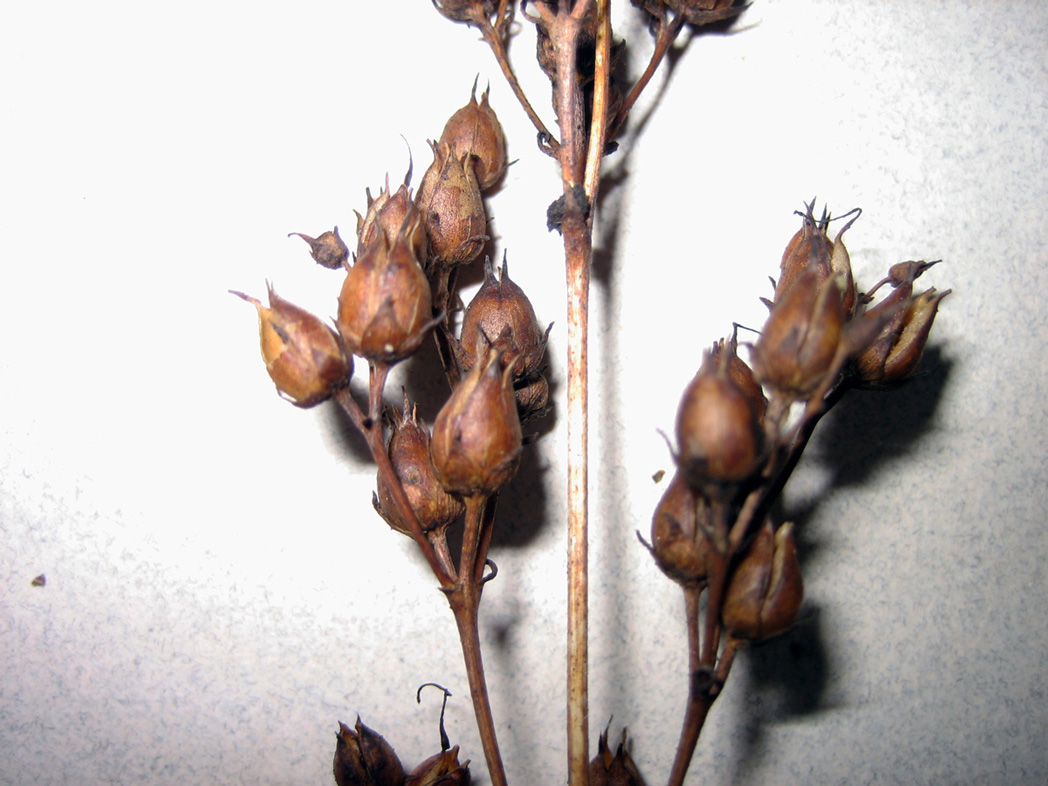
Where are seeds located on the plant?
This may seem like a silly question, but different species of wildflowers form seeds along flower stalks, in the central head of the flower, or in specialized seed storage structures on the plant. It’s fun to look at seed structures produced by plants and try to figure out why they have adapted into follicles, pods, achenes or nutlets to ensure their success in nature.
When are wildflower seeds ready to collect?
After flowering, most plants develop seeds that ripen within three weeks to many months. They are ready to harvest when they become brown and shiny and easily fall out of their flowerhead or capsule. Be prepared to pull apart the seedheads to find seeds. Seeds on the same plant may ripen gradually over time, but placing them in a paper bag will allow for additional ripening of greenish seed. It also will help dry seeds for longer storage.
How do I harvest wildflower seeds?
When collecting seeds, you only need a dozen flowerheads to produce dozens of new plants. This leaves the remainder to reproduce naturally or provide food for small birds. Use scissors to snip seed stalks into paper bags and record the plant name on the bag.
How do I clean seeds?
Removing seeds from their covering or flowerhead will increase the percent of germination. Clean seeds outdoors on newspaper, because small spiders or bugs may be hiding among them. Hand-pick seeds to release them and dispose of chaff (the dry, scaly protective casings of the seeds), or just crush chaff with seeds and plant them together (the chaff will decompose).
Seed storage
If you don’t plant immediately, you can store seeds in paper bags or envelopes in a dark, cool, dry location for several weeks. For longer periods, store seeds in airtight containers or Ziploc bags in the refrigerator. Germination percentages will diminish over time, so plan to plant within a year for best results.
Planting your seeds
When to sow seeds depends on where you are in Florida. Generally, they can be sown between mid-September and mid-January, but we recommend referring to “Seeding Dates for Native Wildflowers and Grasses” for specifics. Seeds can be sown directly back into your garden as Mother Nature does. You also can start seeds in pots or trays.
Enhancing germination with scarification and stratification
Seeds with hard coats, such as Coralbean, need a process called scarification to get the seeds ready for germination. Some growers use sandpaper to rough up the coats, but a 12- to 24-hour bath in hot water also will do the trick. Take water to a boil and remove from heat. When bubbles stop, pour over seed and soak until cool or up to 24 hours.
Many seeds need exposure to cold for good germination — a process called stratification. The easiest way to achieve cold stratification is by seeding in the fall to expose seeds to normal outdoor weather conditions. Seeds collected during the year can be refrigerated in an airtight plastic bag and later sown in the fall. (Air dry fresh seeds in a paper bag for 7–14 days before placing in a refrigerator.)
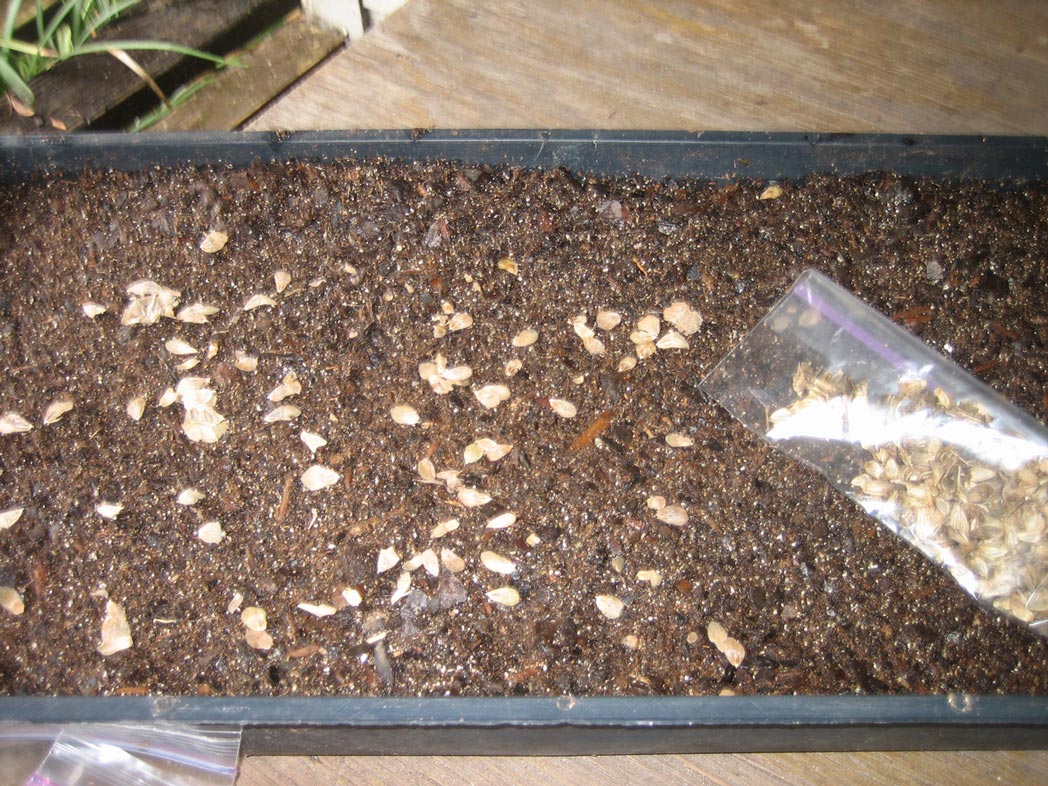
Plant your seeds in small pots or flats containing moist potting media or sand
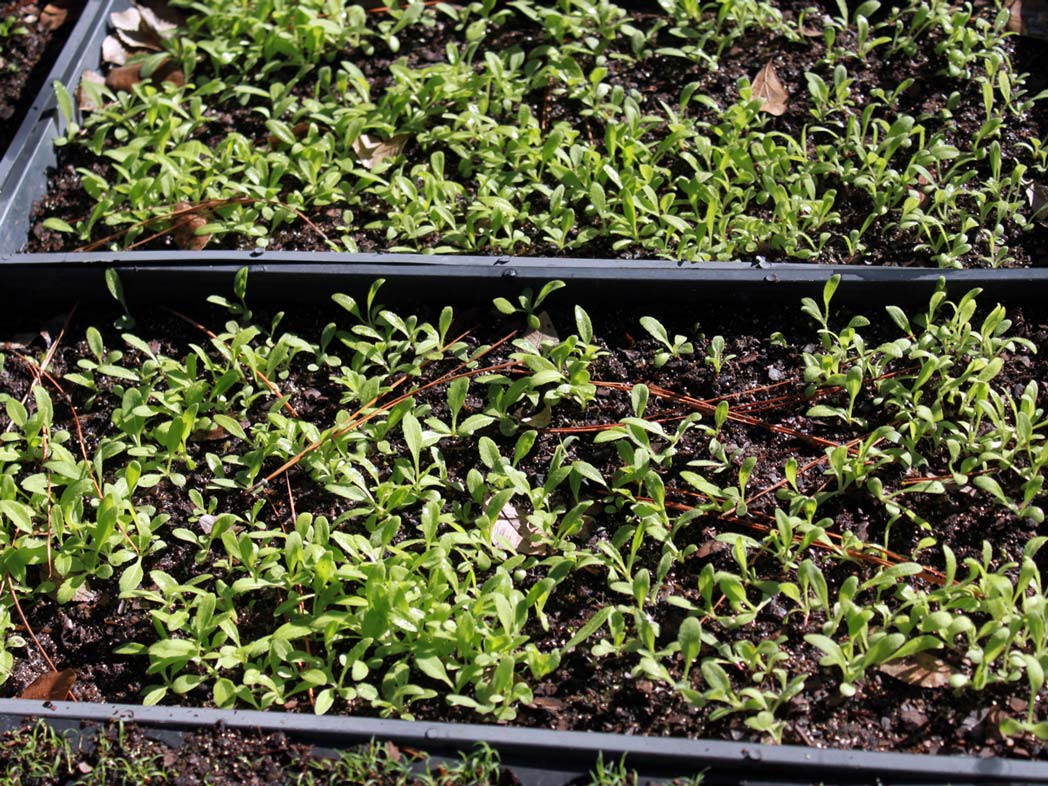
Place the seeds on top of the soil and lightly press them into the dirt (fig. 1). Don’t cover with additional soil because most wild seeds need light to germinate. Water gently, and label plants with name and date to keep track of their progress. Keep the containers in the shade and don’t let them dry out (but be careful not to overwater). Germination may require several weeks or months, depending on the plant species. After plants emerge, acclimate them to a sunnier location for 2 to 3 more weeks to stimulate growth, and remember to keep them watered (fig. 2).
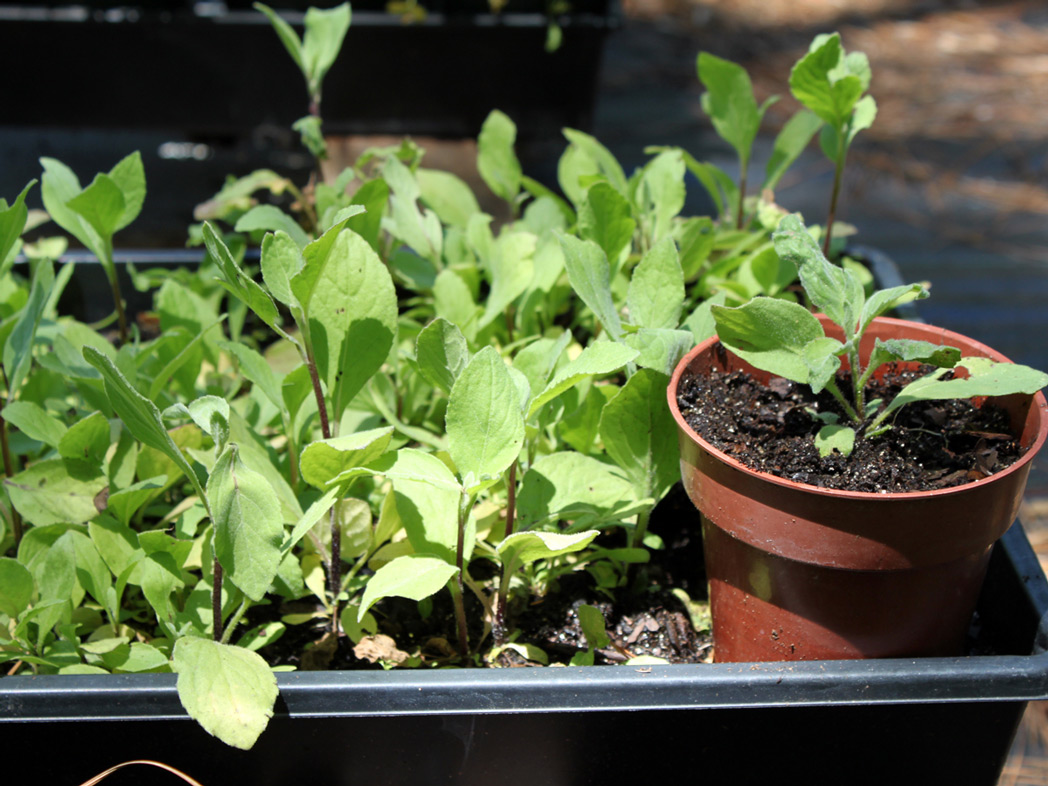
Transplant small seedlings from trays to pots
When starting seeds in trays, the plants have a better chance of survival if they are trans-planted to pots or cellpaks to grow out and develop root structure. Seedlings 1 to 2 inches high, with sufficient roots can be lifted gently from trays and placed in pots with moist soil (fig. 3). Water gently and place in a shady location for 7 to 10 days, then move to a sunny area where they can grow 4-6 inches tall before planting them in the garden.
Moving your wildflowers into the garden
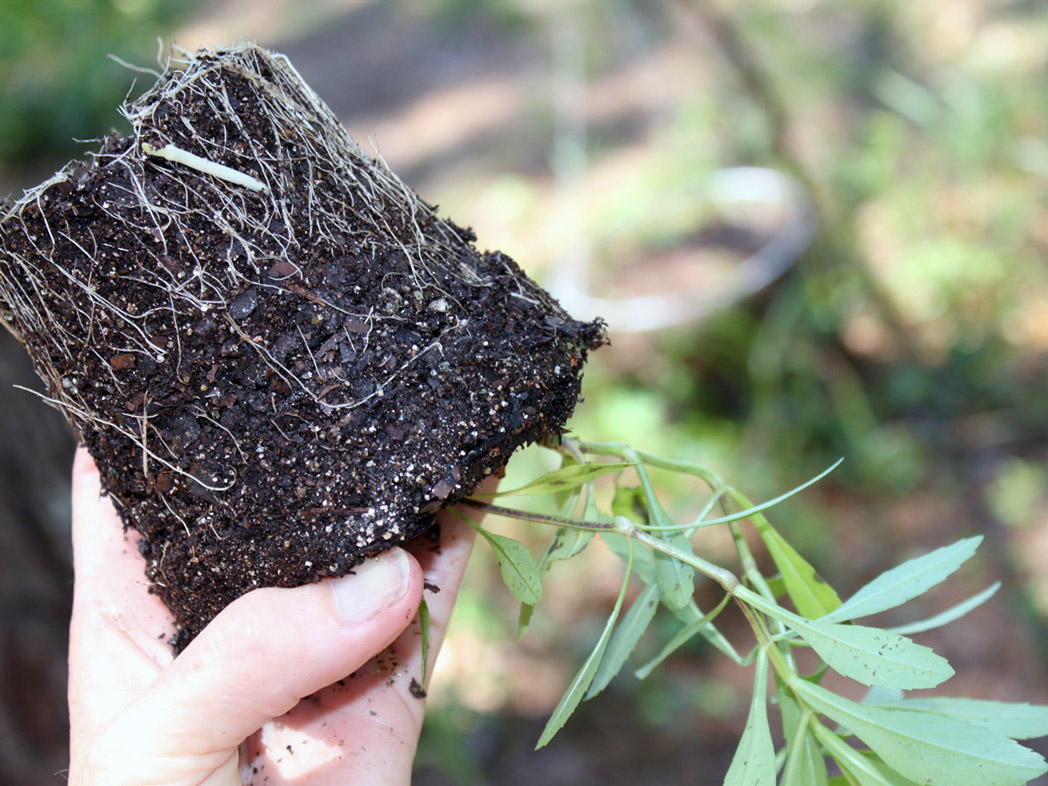
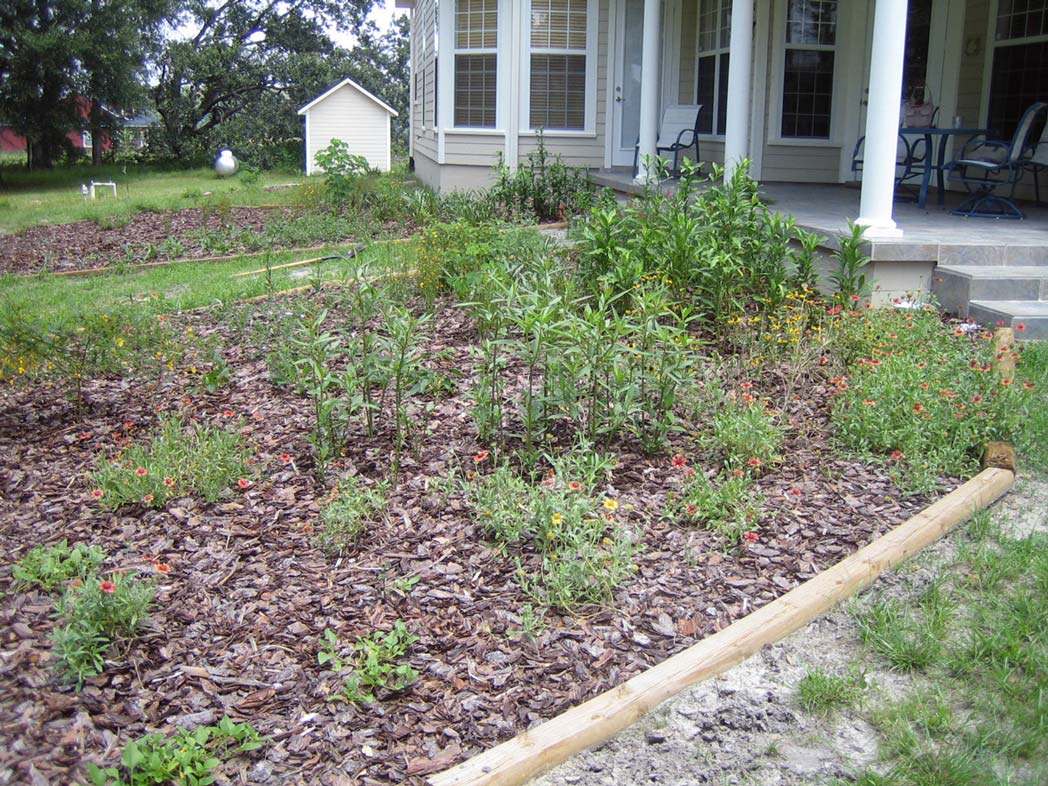
Check root development by inverting the plant and lifting the pot off. Plants are ready to go to the garden if you see roots on the sides and bottom of the soil (fig. 4). Most wildflowers can be planted 15 to 24 inches apart (fig. 5). Taller species can use spacing of 3 to 4 feet, depending on their widths at maturity. Remember, transplants require frequent water up to 30 days after planting.